Supplies needed
- Old wagon in need of some love
- Four 10″ Pneumatic tires from Harbor Freight Purchased on sale at Harbor Freight for $3.99 – Also available on amazon
- Four axle push nuts (1/2″ for my wagon) $1.51 each at Lowes
- PVC clear vinyl tubing with an inside diameter of 1/2″, and outside diameter of 5/8″ $5.18 for 10 ft. at Lowes. (you could get by with less than a foot, but 10 ft was the shortest available.) You may not need a spacing material if your axle size matches the hub of your new wheels.
Tools needed
- Rubber mallet or hammer and block of scrap wood
- Small pry bar or hammer with claw
- Vise grips to ease installation of the PVC spacers
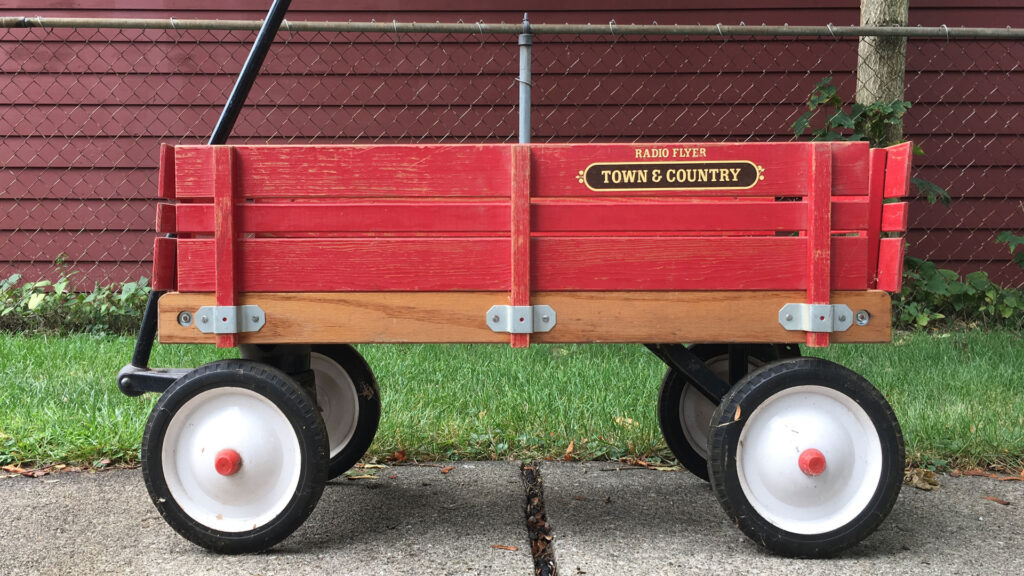 The old wagon still looking good with original wheels
Radio Flyer Wagon wheel upgrade
With Halloween approaching, we decided to clean up my old Radio Flyer wagon. While still in pretty good shape, I felt like the wheels could us an upgrade. The old wheels were hard and narrow which limited the type adventures we could take it on.
After researching Off Road Radio Flyers, I came across the Radio Flyer All Terrain Cargo Wagon. The $149 wagon looked just like my old Radio Flyer Town & Country wagon, but with one distinct difference, Big off road tires!
Sourcing new Wheels and tires
I located some cheap 10″ pneumatic tires at Harbor Freight which were on sale for $3.99 each. They are regular $4.99, but if you’re patient, you can probably catch a sale.
But there was a catch..
The price was great, but there was one minor issue.. the inside diameter of the hub of the new wheel was 5/8″, while my wagon axle was 1/2″. Fortunately, I found this video on youtube by The Bearded Hobbit which gave the suggestion of using Clear vinyl PVC tubing as a spacer.
Since the wheel has its own bearing, the spacer material would just need to remove any extra play between the axle and hub. I found the pvc tubing in the plumbing aisle of Lowes and decided to give it a try.
* Important note
Axle sizes vary depending on the year and model of your wagon. If you are unsure of your axle size, measure and then adjust the push cap and inside diameter of the pvc tubing as needed/if needed.
Removing the old wheels
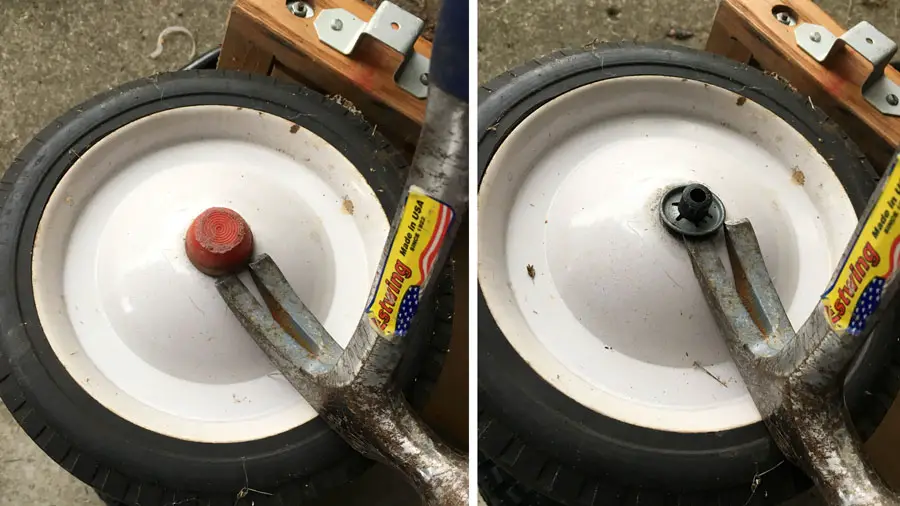

Wagon wheels are held on with with axle push nuts. The nuts consist of a pronged metal washer with a plastic cover. When pushed onto the axle, the nut grips the axle and hold the wheel into place.
To remove the push nut, you will simply need to pry it off. A small pry bar or the claw end of a hammer will allow you work under the nut and pop it off.
With the push nut removed, the wheels will simply slide off of the axle.
Measuring and installing the PVC spacer
measure the depth of your new wheel hub and use that measurement to trim four pieces of the pvc tubing.
Next, slide the pvc tubing over the exposed axle where your old wheels previously were attached. It will be a very tight fit, but with some effort, you will be able to get it on. I found a pair of vise grips helpful to twist it on.
Installing your new wheels
With your old wheels removed, and the PVC spacers in place, you can now slide on your new wheels. We recommend doing one at a time.
Slide your first wheel on and make sure that there is no extra play in the hub. If everything looks good, you can secure your wheel with one of the new axle push nuts.
Place your cap over the axle so that the exposed axle is centered in the opening of the metal washer inside the push nut.

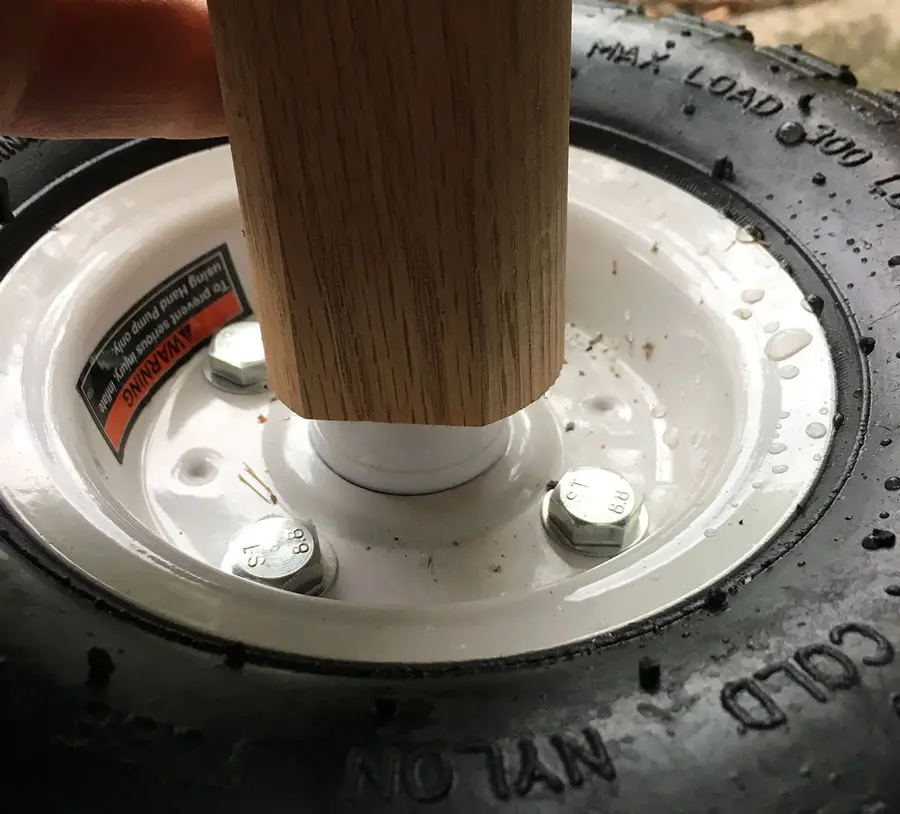
Place a scrap piece of wood over the face of the cap and gentlty tap with a mallet or hammer. If the nut is aligned correctly, it should slide into place with a few firm taps.
Repeat the installation process for the remaining three wheels.
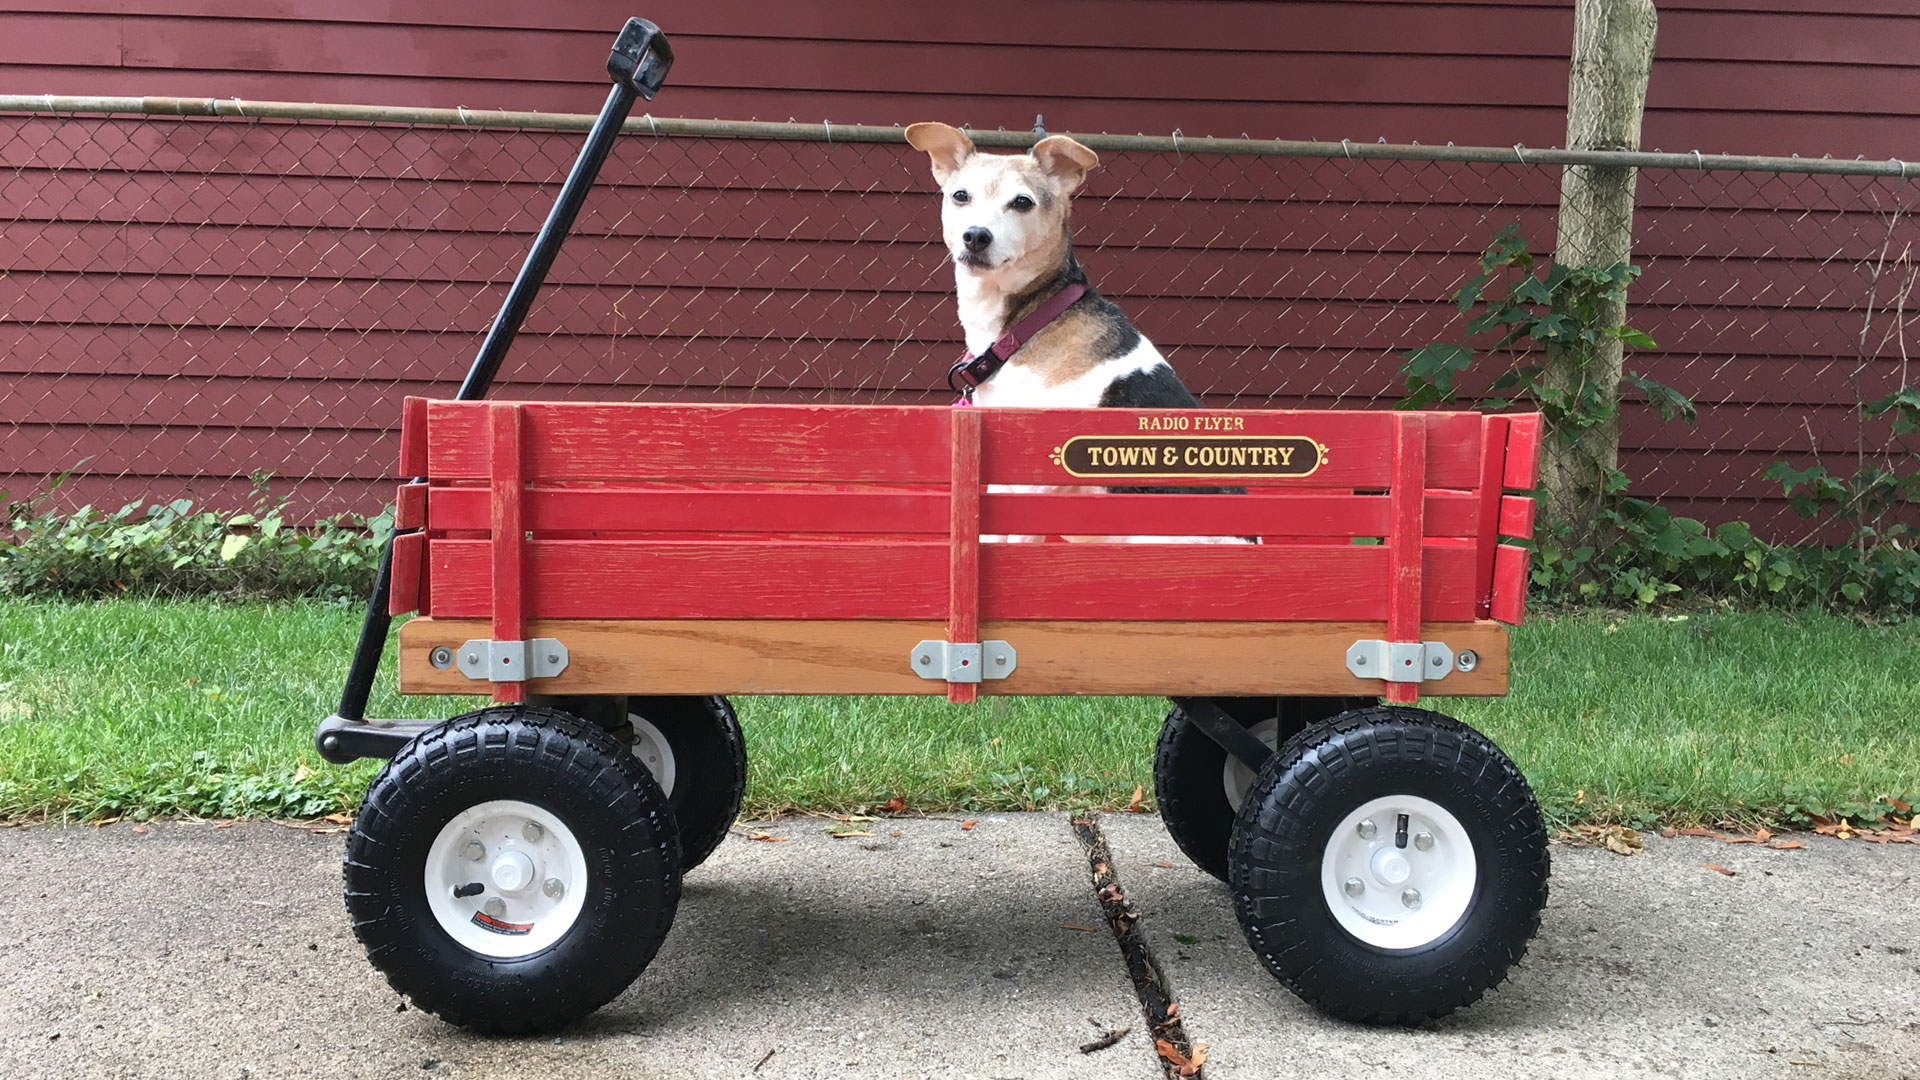
The finished product

With a small investment and an hour worth of work, we were able to give new life to an old friend. I think the tires look great, and now the fun can continue even if the pavement ends!